THE TACTICAL U STANDARD
There is no “tap” in the Tactical U standard, it is a decisive seat.
The sequence is over only when the gun is functional, your grip is sound, and your awareness is back outside the gun.
The emergency reload is one of four, and the comparison is laid out in the four reload types and when each applies.
The carbine version has a different workspace and a different failure mode, both of which are covered in carbine training.
Related: the reload masterclass.
1. Definition: What an Emergency Reload Is
An emergency reload occurs when the firearm has exhausted its ammunition supply and the slide or bolt has locked to the rear.
At that moment, the weapon is not participating in the fight. It is a dead tool until you correct it.
At Tactical U, the standard is simple:
The weapon is dry; get it back into the fight.
This is not a magazine management problem. This is a survival problem.
The priority is immediate mechanical reset, safely, decisively, and repeatably under pressure.
For the full doctrine on how reloads are classified and selected under different conditions, see:
Firearm Reload Training for Real-World Gunfighting (Pistol & Rifle)
Firearm Reload Training: Tips and Tricks
2. Emergency Reload – Pistol Mechanics
The pistol emergency reload is built around three non-negotiables:
- Eyes up – gun comes to the eyes, not the head to the gun.
- Workspace control – high chest, threat-consistent muzzle, clean magwell access.
- Aggressive mechanics – no “soft seating,” no tentative manipulations.
Step 1 – Recognize the Dry Gun
- Trigger press with no shot and a “dead” feel.
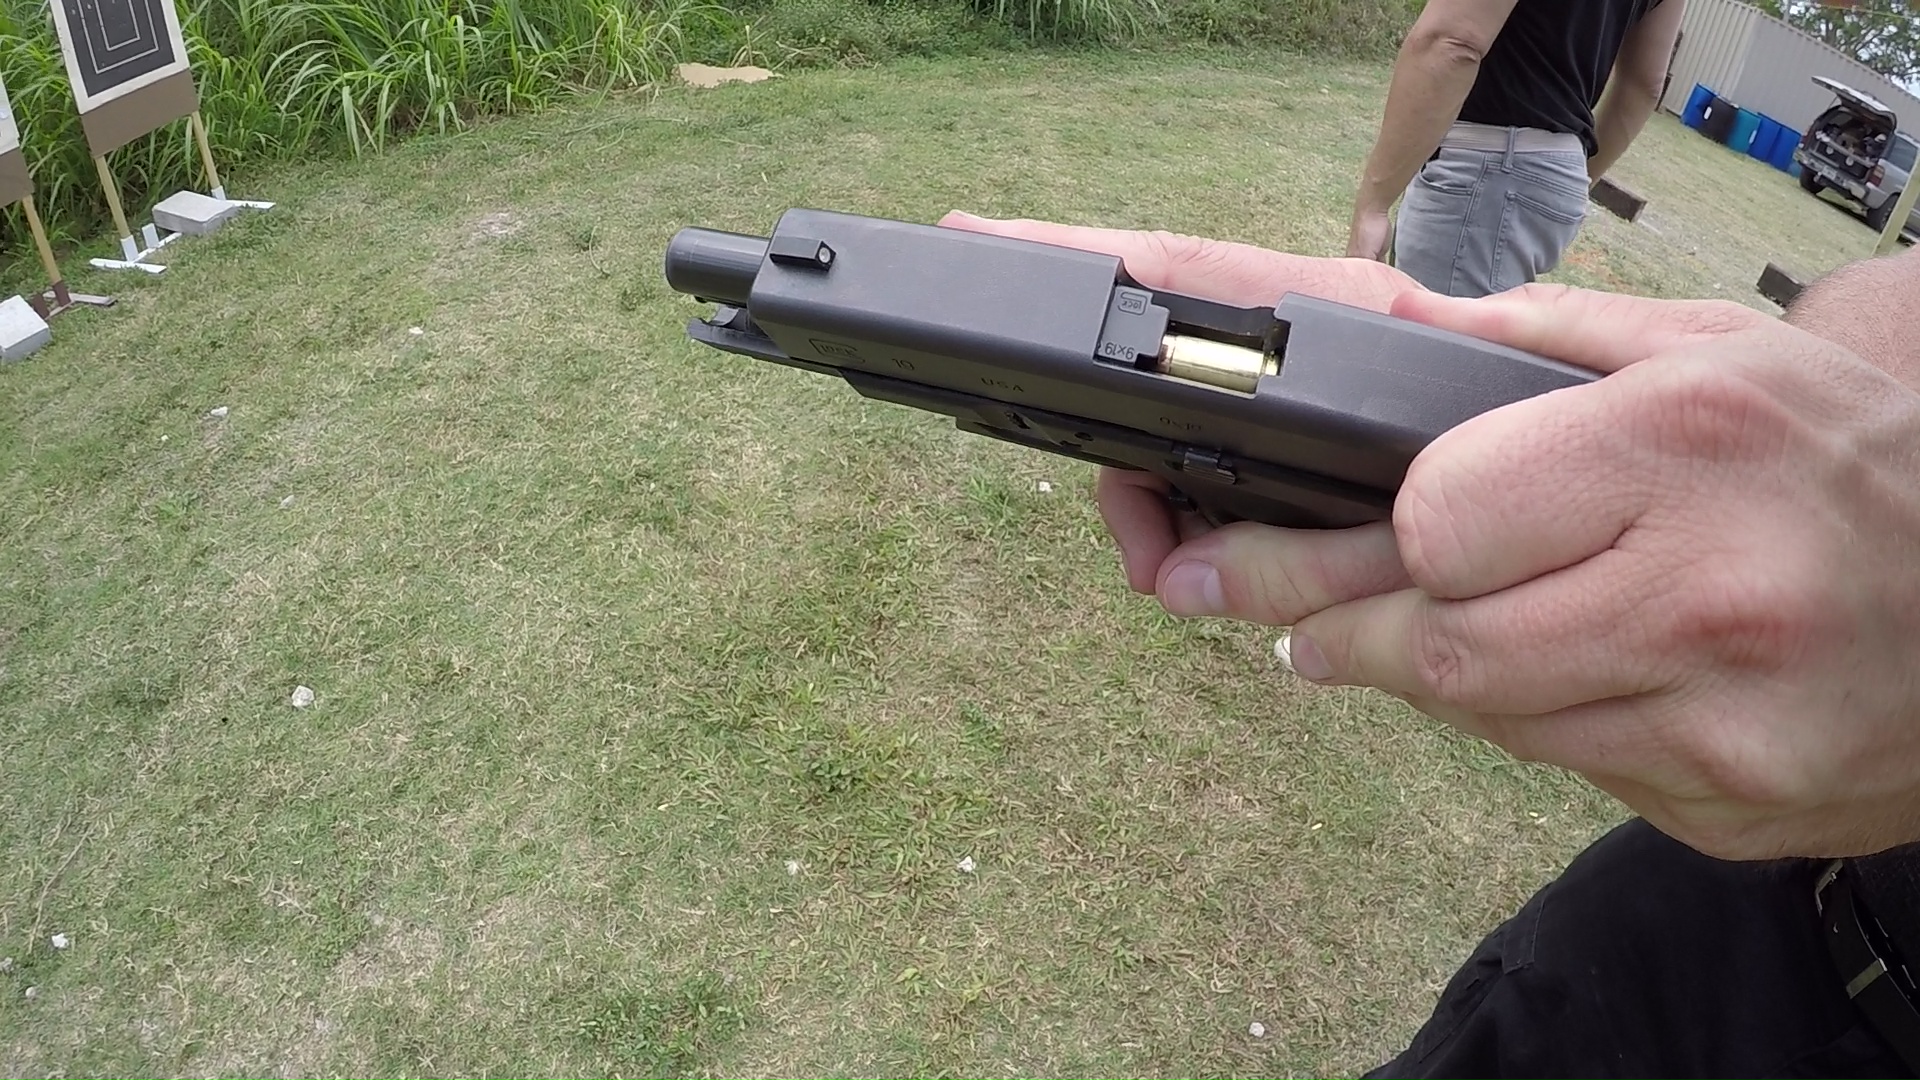
- Visual or tactile confirmation that the slide is locked to the rear.
You are no longer in the fight until that changes.
Step 2 – Bring the Gun to the Workspace
- Bring the pistol into the high-chest workspace, just below the visual horizon.
- Keep the muzzle oriented in a safe or threat-consistent direction, not at your own body.
The gun rises to your eyes. Your eyes do not dive to the gun.
Step 3 – Clear the Empty Source
- Aggressively depress the magazine release.
- Allow the empty magazine to fall free. Do not try to catch or “save” it.
In an emergency reload, retention is not the priority. Reset is.
Step 4 – Acquire the Fresh Magazine
- Support hand drives to the mag pouch.
- Index finger rides the front spine of the magazine up to the tip.
- The magazine is oriented so that the index finger can “point” the mag mouth into the magwell.
This is tactile indexing, not guesswork.
Step 5 – Insert and Seat
- Guide the magazine into the magwell using the index finger as a pointer.
- Drive the magazine home with authority using the heel of the palm.
Step 6 – Cycle the Action
- Use a firm overhand rack or a controlled slide-stop/slide-release activation.
- Do not ride the slide forward. Release it and let the recoil spring do its work.
Step 7 – Rebuild Grip and Reacquire Environment
- Re-establish your firing grip completely before re-presenting the gun.
- Drive the gun back toward the threat while re-acquiring the environment, not just the last point of focus.
3. Emergency Reload – Carbine Mechanics
On AR-pattern rifles and similar carbines, the emergency reload is built on the same logic: the weapon is dry and must be returned to work immediately.
Step 1 – Confirm the Lock-Back
- Trigger press with no shot and minimal movement.
- Visual or tactile verification that the bolt is locked to the rear.
Step 2 – Cant and Clear the Empty Magazine
- Cant the rifle slightly inward to expose the magwell and bolt catch area without flagging yourself.
- Depress the magazine release and allow the empty magazine to fall.
Do not spend time chasing empty metal or polymer.
Step 3 – Insert the Fresh Magazine
- Bring the fresh magazine up with the support hand.
- Align it with the magwell using tactile indexing and a consistent mag orientation.
- Drive the magazine into the well aggressively.
Step 4 – Perform a Physical Pull-Test
This is where most AR users fail. A full magazine against a closed bolt, or even at lock-back under stress, is where partial seating occurs.
- After seating, pull down firmly on the magazine.
- If it moves, it was not seated correctly, seat again and re-check.
No pull-test, no confirmation.
Step 5 – Release the Bolt
- Depress the bolt catch/release paddle or run the charging handle fully to the rear and release.
- Confirm the bolt goes fully into battery.
Step 6 – Re-Index the Rifle and Reassess
- Return the rifle to the shoulder pocket.
- Reacquire the sighting system.
- Reassess the environment and the threat picture, not just the last target.
4. The Tactical Workspace Validation
The workspace is the engine room for all manipulations, reloads, malfunction clearance, and administrative handling.
For emergency reloads, the standard is:
- High chest position, just below the line of sight.
- Muzzle controlled within a safe or threat-consistent cone.
- Gun and magwell visible peripherally, but your primary visual attention remains outside.
- Index finger on the front of the magazine for reliable, tactile insertion.
If you must drop your head and stare into the magwell to perform an emergency reload, you have surrendered situational awareness in exchange for a fragile technique.
The environment is not guaranteed to be cooperative:
- Degraded or no light.
- Smoke, dust, or rain.
- Visual clutter and moving people.
The emergency reload must work when you cannot rely on clear vision or a perfect stance.
For a broader breakdown of workspace discipline and visual management, see:
Firearm Reload Training for Real-World Gunfighting (Pistol & Rifle)
Firearm Reload Training For Advanced Shooters & Beginners – Pistols & Rifles
5. Common Failure Points in Emergency Reloads
Emergency reload failures are rarely mysterious. They tend to repeat the same patterns.
1. The Soft Seat
- Magazine is inserted but not driven firmly into place.
- On the first shot or movement, the magazine drops out.
Correction:
Drive the magazine in with aggressive upward pressure and perform a confirmation pull-test (especially with carbines).
2. Visual Fixation on the Gun
- Shooter locks eyes onto the pistol or rifle, hunting for the magwell.
- The environment, threat, and available cover are ignored during the reset.
Correction:
Gun to the eyes, not the head to the gun. Magwell in peripheral vision, not full focus. Tactile indexing replaces visual dependence.
3. Incomplete Action Cycling
- Riding the slide or easing the charging handle forward.
- Results in failures to chamber and repeat stoppages.
Correction:
Full-stroke manipulations only. Overhand rack or decisive control of the release. No partial movements.
4. Grip Collapse Under Stress
- Hands loosen or change position during the reload.
- The gun is driven back out without a solid firing grip.
Correction:
Consciously rebuild the firing grip after the magazine is seated and the action is cycled. Do not accept a compromised grip for the next engagement.
6. Where Emergency Reload Mechanics Fit in the System
The emergency reload is one component in a larger mechanical arc:
- Gun functional: marksmanship and recoil control.
- Gun stops due to ammo state: emergency reload.
- Gun stops due to mechanical or human interference: malfunction or stoppage clearance.
- Fight tempo shifts: proactive or tactical reload decisions.
- Fight ends: administrative handling and post-incident management.
Emergency reload mechanics do not replace malfunction training; they complement it.
For the full diagnostic framework:
Firearm Malfunctions & Stoppages: Diagnostic Framework, Clearance Procedures, and Real-World Application
Gun Malfunctions Clearance Training
For the overarching reload doctrine:
Firearm Reload Training for Real-World Gunfighting (Pistol & Rifle)
Firearm Reload Training For Advanced Shooters & Beginners – Pistols & Rifles
7. Validate the Skill – Live Training
Reading this page does not create reflexes.
Emergency reload mechanics must be validated under pressure.
Train This Skill With Tactical U
Turn the idea from this article into coached reps with Tactical U.