
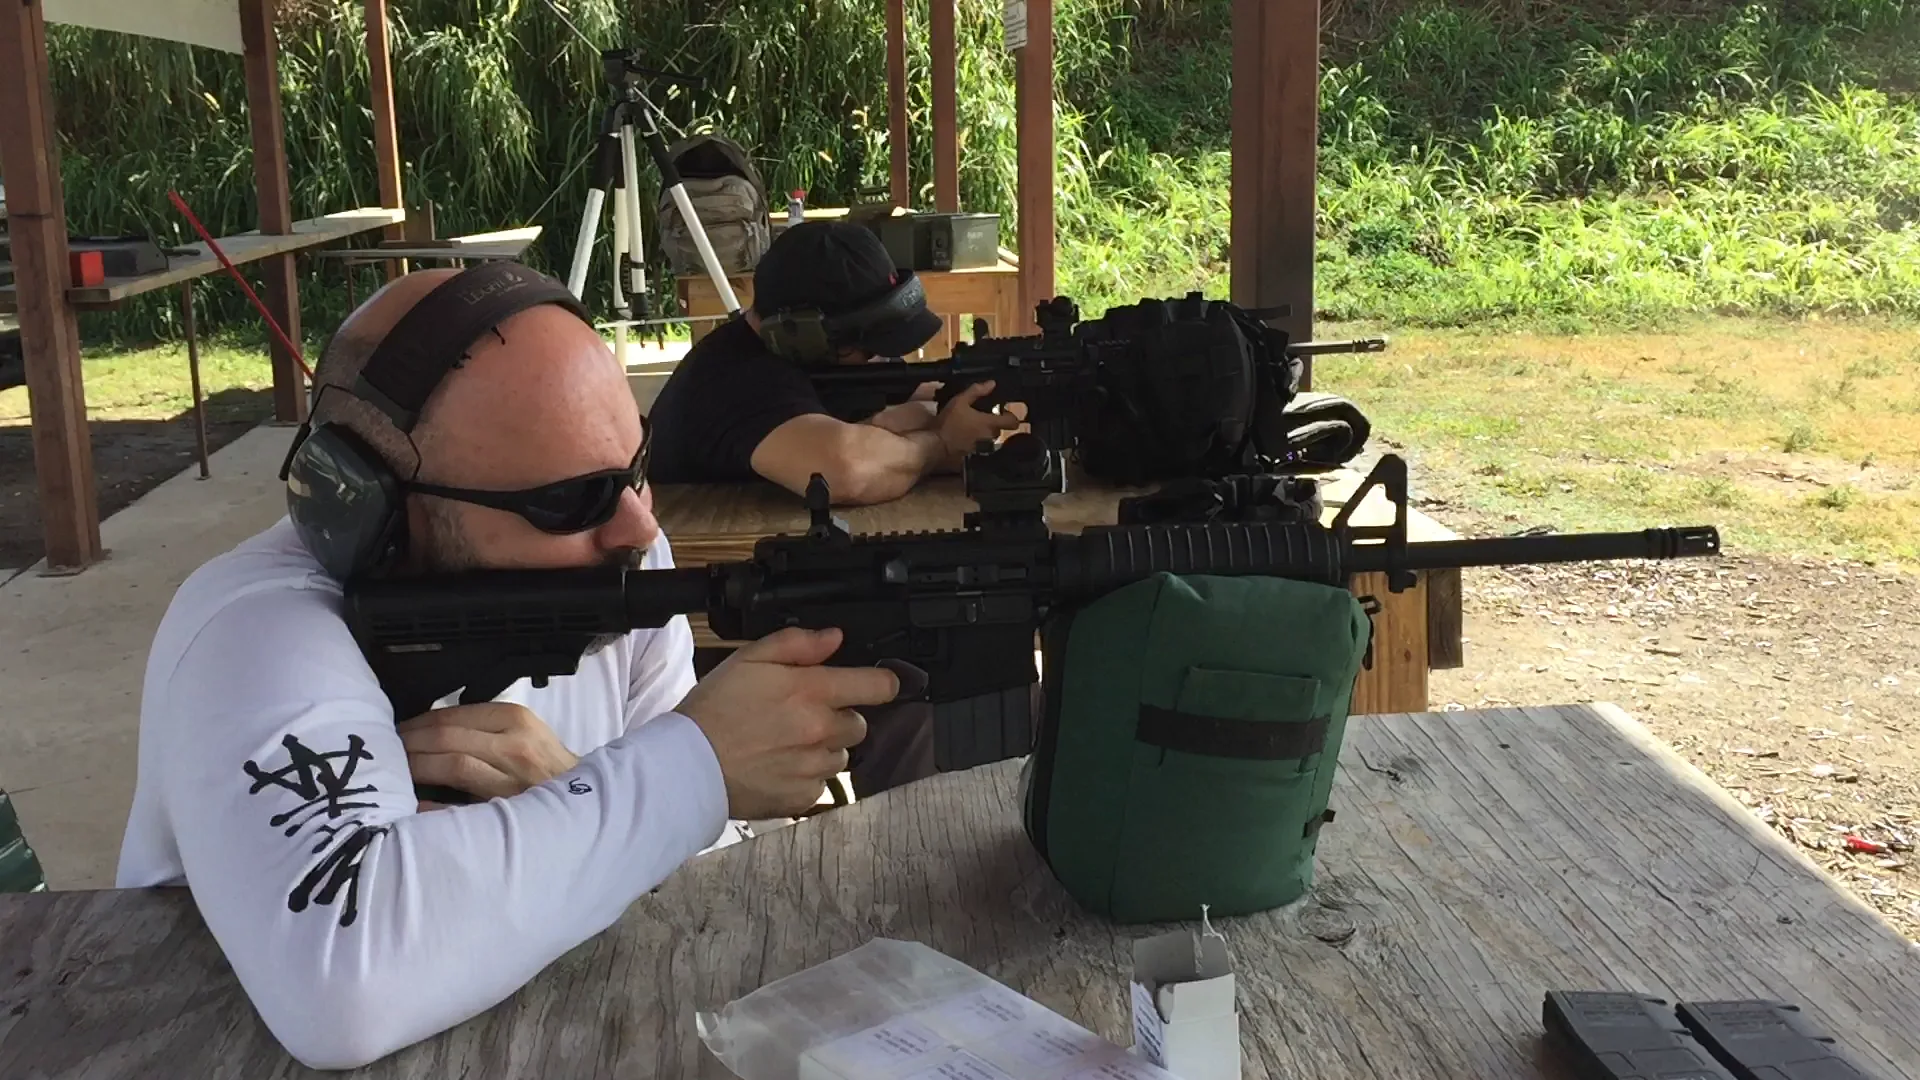
When you zero an AR-15, you pick one distance where the bullet meets your line of sight. The bullet keeps flying after that, and the rest of its path matters too. The zero distance you choose also decides where the bullet crosses the sight line a second time and how far it rises above the line in between.
Quick answer
No zero distance is best for every rifle.
In one published model example, measured from 25 to 300 yards, the 36-yard zero had the smallest high-to-low spread. The 50-yard zero had a lower peak, and the 100-yard zero stayed lower through 200 yards. Change the rifle, the ammunition or the distances you compare, and the answer can change.
The Sight Line and the Bullet Path
The sight line is the straight line from your eye, through the optic, to the target. A red dot doesn’t project anything downrange. The dot is inside the optic, and that is where you see it.
The barrel sits below the sight line and points slightly upward. Gravity starts pulling the bullet down as soon as it leaves the muzzle and keeps pulling for the whole flight. The sight line is straight and the bullet path is curved, so the two can cross more than once.
Near Zero, Far Zero and Maximum Ordinate
Because the bullet starts below the sight line and travels slightly upward, it usually crosses the line twice.
- Near zero is the first crossing, as the bullet rises.
- Far zero is the second crossing, as the bullet comes back down. It isn’t where the bullet hits the ground.
- Maximum ordinate is the greatest height the bullet reaches above the sight line.
- High-to-low spread is the distance between the highest and lowest points of the path over a stated range of distances.
Maximum ordinate and high-to-low spread answer different questions. The first tells you how high the bullet rides above your sight line. The second tells you how much the path moves up and down across the distances you care about.
One Example Setup
Every number on this page comes from one published model example: M193 55-grain ammunition at 3,050 feet per second from a 16-inch barrel, with the optic centered 2.85 inches above the bore, at sea level with no wind. The values are rounded. They aren’t measurements from a Tactical U range, and your rifle, ammunition, velocity, optic height and conditions can produce different results.
| Zero | Far zero | Maximum ordinate | Path at 300 yd | High-to-low spread, 25 to 300 yd |
|---|---|---|---|---|
| 25 yd | About 399 yd | About 12.2 in high at 229 yd | 10.3 in high | 12.2 in |
| 36 yd | About 305 yd | About 5.5 in high at 179 yd | 0.5 in high | 6.3 in |
| 50 yd | About 234 yd | About 2.3 in high at 146 yd | 5.3 in low | 7.6 in |
| 100 yd | Crossings nearly merge | Meets the sight line near the top of its arc | 10.7 in low | 10.7 in |
25-yard zero
To meet the sight line at 25 yards, this setup needs a steeper barrel angle. The path rises about 12 inches above the sight line and doesn’t come back down to it until about 400 yards.
36-yard zero
The path returns to the sight line near 305 yards and peaks about 5.5 inches high. It reaches farther than the 50-yard zero but rides higher between the two crossings.
50-yard zero
The path returns near 234 yards, with a peak about 2.3 inches high. That lower peak comes with more drop at 300 yards.
100-yard zero
The path meets the sight line near the top of its arc, so in this model the two crossings nearly merge. It stays lower through 200 yards, then drops farther than the other examples. Don’t assume every 100-yard zero has a widely separated second crossing.
Which Zero Is Best?
That depends on the distances you compare. Between 25 and 300 yards, the 36-yard example has the smallest high-to-low spread. Start the comparison at the muzzle, or end it at a different distance, and the ranking can change. A fair comparison names its distance range and keeps peak height separate from total spread.
Confirm It on Your Rifle
The video ends with three words: train, confirm, document. Write down your rifle, your ammunition, its measured velocity if you have it, your optic height above the bore and the zero distance you chose. Then confirm the zero at the range and record what you actually see. The model explains the geometry. Your own notes describe your rifle.
A good zero still depends on good shooting. Rifle Marksmanship Fundamentals Explained covers the basics behind a consistent group, and the marksmanship articles collect the rest of the Tactical U skill guides.
Rifle Training That Covers Zeroing
A video can show you the geometry. A class puts it on your rifle, with an instructor watching. These Tactical U rifle pages cover zeroing:
- Rifle Training Overview compares the Tactical U rifle classes in one place. Its course list includes why zeroing at certain distances matters and the height-over-bore effect.
- Tactical Rifle Fundamentals (Rifle Level 1) has you confirm your zero and learn about holds, offsets and trajectory. The class requires iron sights, and optics are allowed as a backup, so read its gear list first.
- Rifle Training in Fort Lauderdale covers zero in its Phase 1 carbine training, where you zero your optic.
What Students Say About Tactical U Rifle Instruction
From Google reviews of Tactical U classes. These reviews describe in-person training, not this video.
“The training is extremely comprehensive and goes deep into how a rifle actually works, while also covering a wide range of possible scenarios.”
“He explained in a logical sequence all aspects of safety, handling and operating the rifle.”
Transcript
Read the full transcript
0:01 Two lines, two crossings
A zero is more than one distance. Follow the sight line, the bullet path, and the second crossing.
0:08 Gravity acts from the start
The red dot is inside the optic. It sends no beam downrange. The barrel starts below your straight sight line and points slightly upward. Gravity bends the bullet away from its initial direction throughout its flight.
0:24 Near zero, peak, far zero
The path crosses upward at the near zero, peaks above the sight line, then crosses downward at the far zero. Maximum ordinate means the greatest height above that sight line. It is different from the total high-to-low spread.
0:39 25-yard zero
To meet the sight line at 25 yards, this setup needs a steeper barrel angle. The path peaks about 12 inches high and returns near 400 yards.
0:53 36-yard zero
The 36-yard zero returns near 305 yards and peaks about five and a half inches high. It reaches farther than 50, while riding higher between the crossings.
1:06 50-yard zero
The 50-yard zero returns near 234 yards, with a peak about 2.3 inches high. Its lower peak trades against more drop at 300.
1:21 100-yard zero
The 100-yard zero meets the sight line near the top of its arc. In this model, the crossings nearly merge. It stays lower through 200, then drops farther.
1:35 Compare the whole flight
Best depends on the distances compared. From 25 to 300 yards, 36 has the smallest high-to-low spread here. 50 has the lower peak. 100 stays lower through 200. Use your actual setup. Tactical U. Train. Confirm. Document.
Sources and Limits
- Trajectory values are rounded from published ammunition data for this example. The curves in the video connect those rounded points. They aren’t a new ballistic calculation.
- Heights in the animation are exaggerated for visibility. Firing, muzzle flash and casing movement are artistic illustration, not a mechanical simulation.
- These examples don’t apply to every rifle. Ammunition, velocity, barrel length, optic height, altitude and wind all change the path.
- Animated with AI.
Train This Skill With Tactical U
Confirm current availability, requirements and total cost before booking.
AR-15 Zero FAQs
What yard should I zero my AR-15?
There is no single right distance. Pick the distances you expect to shoot, then compare how high the bullet rises and how far it drops across them. In the example setup on this page, the 36-yard zero had the smallest high-to-low spread from 25 to 300 yards, the 50-yard zero had a lower peak, and the 100-yard zero stayed lower through 200 yards. Confirm your choice on your own rifle.
Is a 50 yard zero the same as 200?
Not always. A 50-yard zero and a 200-yard zero can be close, but they match only if your setup crosses the sight line at both distances. In the example setup on this page, the 50-yard zero came back to the sight line near 234 yards and sat about 1.5 inches high at 200 yards. Check it at distance on your own rifle.
Can I do a 50 yard zero at 25 yards?
You can use a 25-yard target as a starting point, but the bullet should not hit your aiming point there. In the example setup on this page, a 50-yard zero put the bullet about 1.3 inches below the sight line at 25 yards. That offset changes with your ammunition and optic height, so confirm the zero at 50 yards.
How far is a 36 yard zero good for?
That depends on how much rise and drop you can accept. In the example setup on this page, the 36-yard zero peaked about 5.5 inches high near 179 yards, sat about 0.5 inch high at 300 yards and crossed the sight line near 305 yards. After that crossing the bullet keeps falling below the line. The example doesn’t tell you how far you can hit a target.
What is maximum ordinate?
Maximum ordinate is the greatest height the bullet reaches above the sight line. In the example setup on this page it was about 12.2 inches for the 25-yard zero, 5.5 inches for the 36-yard zero and 2.3 inches for the 50-yard zero. It is different from high-to-low spread, which measures how far the path moves up and down over a stated range of distances.
Why does my zero change with ammunition or optic height?
The bullet path depends on your ammunition, its velocity, your barrel and how far the optic sits above the bore. Change one of them and the crossings and the peak can move, so numbers from one setup don’t carry over to another. Write down your ammunition and optic height with your zero.