The Tactical U Standard: Access Over Speed
At Tactical U, we do not teach the draw as a race against a shot timer. We teach it as a mechanical solution to an access problem.
Real-world conditions,concealment garments, body position, movement, physical contact, and environmental interference,will reliably break a draw that only works under ideal range conditions. Speed without access is meaningless. Concealed Carry has its benefits, but a draw that fails to produce a controlled, functional grip under pressure is not fast. It is failed.
Carry Method Notice
This diagnostic framework applies across carry methods, but appendix carry (AIWB) introduces unique constraints from body position, clothing geometry, and holster design that must be evaluated mechanically,not assumed.
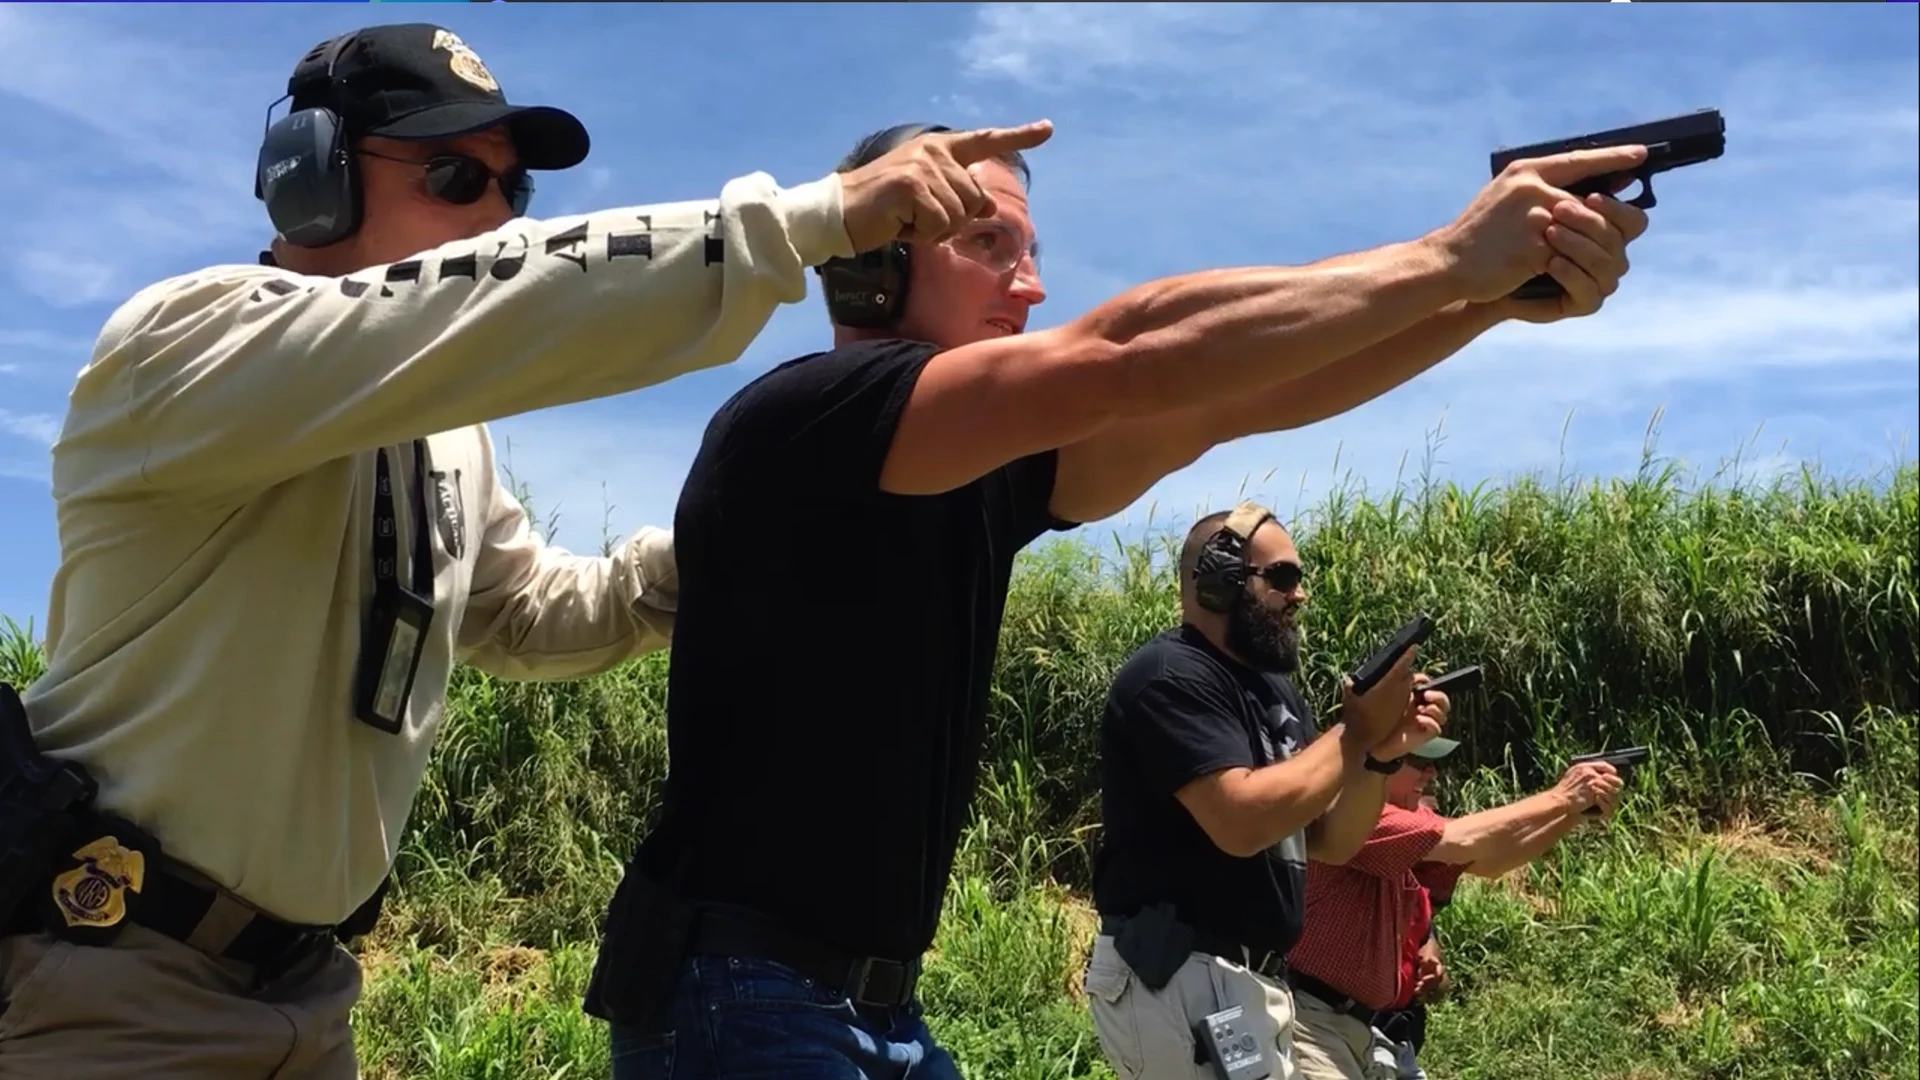
Linear Presentation: The Operating Doctrine

We utilize a Linear Presentation. The firearm moves from the holster to a pectoral index and presses toward the target along the eye–target line. This approach places the sights into the visual plane earlier, stabilizes muzzle orientation, and allows the shooter to confirm control before full extension.
The draw is evaluated as a sequence, not a single motion. Failure anywhere in the sequence propagates downstream.
The 6-Phase Diagnostic Draw Sequence

Phase 1: Clear
The aggressive removal of the concealment garment. This is not casual movement. The garment must be indexed high enough to prevent collapse back into the holster mouth or grip area. Most draw failures begin here.
Phase 2: Master Grip
A full, high-tang grip is established while the firearm is still seated in the holster. This phase determines downstream recoil control, reliability, and recovery potential. A compromised grip here guarantees failure later.
Phase 3: Pull
Vertical extraction. The pistol clears the holster completely before any horizontal movement begins. Binding, dragging, or rotation at this stage indicates mechanical interference or poor grip integrity.
Phase 4: Rotate
The wrist rotates toward the threat at the pectoral index. The muzzle is now oriented toward the target while maintaining control and muzzle discipline. Immediate engagement is possible if required.
Phase 5: Join
The support hand meets the firearm close to the body. This is the final recovery window to correct grip alignment, pressure, or seating before extension. If the grip is not correct here, the press must be delayed.
Phase 6: Press
A linear press toward the target along the eye–target line. The sights enter the visual plane early, supporting controlled confirmation rather than a late, rushed sight picture at full extension.
What This Framework Solves
This diagnostic model exists to identify and correct:
Garment interference
Missed or compromised grips
Holster-induced binding
Poor wrist alignment
Shooter-induced malfunctions caused by draw errors
We do not measure draw speed in isolation. We measure survivability, repeatability, and recoverability.
Validate Your Skills
This framework must be validated under supervision.
About The Author

Stephen L. Cohen
Founder & Lead Instructor, Tactical U Firearms Training
Operating in South Florida since 2010, Stephen L. Cohen is a law-enforcement-certified firearms instructor with over three decades of experience training law enforcement, military, security professionals, and responsible armed civilians in technical weapon handling, decision-making under stress, and post-incident risk management.
Instructor Bio & Credentials:
Train This Skill With Tactical U
Turn the idea from this article into coached reps with Tactical U.